Painting your car’s wheel rims is a great way to give your vehicle a fresh, personalized look. Whether you’re looking to match your rims to the color of your car or add a bit of flair with a custom shade, painting them is a cost-effective option that can significantly change the overall appearance of your ride. This guide is tailored for beginners who want to tackle this project themselves, from preparing the rims to applying the final coat. Let’s dive into the step-by-step process.
Why Should You Paint Your Vehicle Wheel Rims?
- Personalize your vehicle with a sleek, polished finish or bold color.
- Gain complete control over the appearance of your car.
- Protect rims from corrosion, road debris, salt, and harsh weather conditions.
- Restore scratched or scuffed rims and protect them from further damage.
Tools You Need To Paint Your Vehicle Wheel Rims
- Sandpaper (grit levels between 300 to 600)
- Wire brush or steel wool
- Masking tape
- Newspaper or painter’s plastic
- Automotive cleaner or degreaser
- Primer (specific for metal surfaces)
- Spray paint (automotive grade, in your desired color)
- Clearcoat (for protection)
- Gloves
- Face mask
Process Of Painting Your Vehicle Wheel Rims
Step 1: Remove the Wheels
To make painting your rims easier and more precise, remove the wheels from your car. Jack up your vehicle safely, and remove the lug nuts and wheels. Working with the rims is easier when they are not attached to the car.
If you don’t want to remove the wheels, you can still paint them while they’re on the car, but this will require more attention to detail and a bit more effort to mask the tires and surrounding areas.
Step 2: Clean the Rims Thoroughly
Cleaning your rims is one of the most crucial steps in this process. Any dirt, oil, brake dust, or grease on the rims can interfere with how the paint adheres to the surface.
Use an automotive cleaner or degreaser to clean the rims thoroughly. A good wire brush or steel wool will help remove stubborn dirt and grime, especially from the nooks and crannies of the rims. Rinse off the cleaner and let the rims dry completely before moving on.
Step 3: Sand the Rims
Once the rims are dry, it’s time to sand them down. Sanding the surface creates a smooth base for the paint to adhere to, which is critical for a long-lasting finish. Start with coarse-grit sandpaper (around 300 grit) to remove rough edges, scratches, or imperfections. If your rims are already in good shape, 400-600 grit sandpaper will suffice for smoothing the surface.
Be sure to sand the entire surface evenly, including all the hard-to-reach areas. After sanding, wipe the rims with a clean, damp cloth to remove dust or debris.
Step 4: Mask Off the Tires and Surrounding Areas
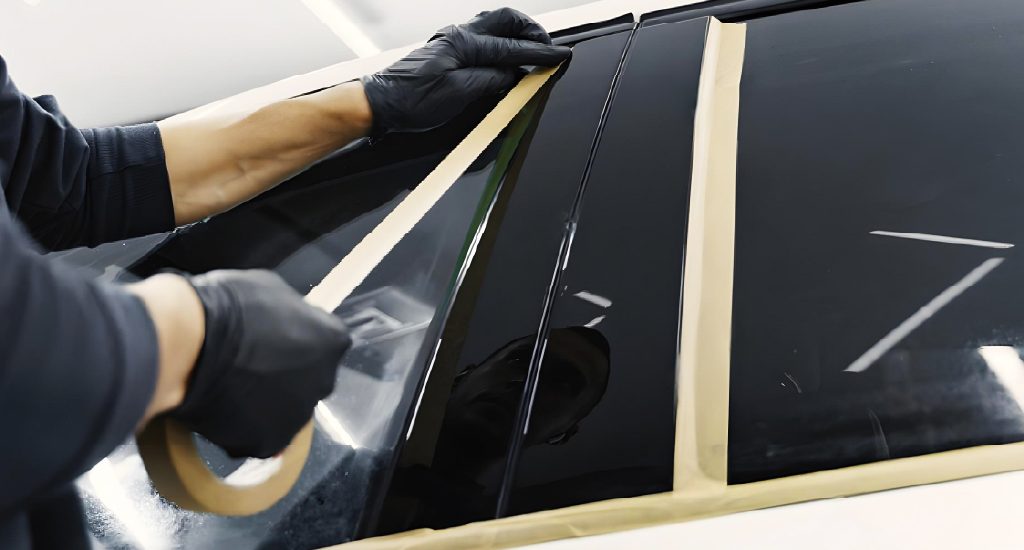
To avoid getting paint on your tires, use masking tape and newspaper or painter’s plastic to cover the entire tire. You’ll want to get as close to the edge of the rim as possible to ensure the paint doesn’t bleed onto the rubber.
If you’re painting the rims while they’re still attached to the car, take extra care to cover the surrounding parts of the vehicle to prevent any overspray from getting on the body of your car.
Step 5: Apply Primer
Priming the rims is essential for ensuring the paint sticks and lasts longer. Use a primer specifically designed for metal surfaces, preferably an automotive primer.
Shake the primer can for a minute or two before applying, and spray it in light, even coats. Hold the can about 8-12 inches from the rim to avoid thick, uneven coats. It’s better to apply several thin coats rather than one thick coat, which can cause drips or runs. Allow the primer to dry completely between coats (usually 15-30 minutes, depending on the product). Apply at least 2-3 coats of primer for good coverage.
Step 6: Paint the Rims
Now for the fun part—painting the rims! Choose a high-quality automotive spray paint in your desired color. As with the primer, shake the can well and apply thin, even coats. Hold the can 8-12 inches from the rims and spray in smooth, sweeping motions to avoid drips.
Allow each coat to dry for at least 15-20 minutes before applying the next one. For complete, even coverage, you’ll likely need 3-4 coats of paint. Be patient and take your time—rushing this step can result in uneven or patchy paint.
Step 7: Apply Clear Coat
After the paint has dried completely, it’s time to protect your work by applying a clear coat. The clear coat gives the rims a glossy, polished look and protects the paint from chipping, fading, or peeling due to exposure to road conditions, sunlight, and weather.
Apply the clear coat like you applied the paint: thin, even layers with about 15-20 minutes of drying time between each coat. Aim for 2-3 clear coats for maximum protection.
Step 8: Let the Rims Dry Completely
Once you’ve finished applying the clear coat, allow the rims to dry and cure completely. Depending on the type of paint and clear coat you used, this could take anywhere from a few hours to a full day. Ensure the rims are fully dry before reattaching them to your car to avoid smudging or damaging the finish.
Step 9: Reattach the Wheels
Once the paint is fully dry, carefully remove the masking tape and newspaper from the tires. Reattach the wheels to your car by following the reverse order of how you removed them. Ensure the lug nuts are securely tightened, and lower the vehicle back onto the ground.
Final Tips
- Work in a well-ventilated area
- Be patient
- Use high-quality products
- Use the correct equipment


