Sanding is a key step in many DIY and professional projects, from woodworking and metalworking to automotive and home renovations. However, choosing the right grit sandpaper for the job can be tricky. Using the wrong grit can ruin your project or make the process take much longer than necessary. This guide will walk you through the different grits and when to use each.
Different Sanding Tools
- Orbital Sanders
- Power sanders that use a circular motion to smooth surfaces. They are versatile and ideal for general sanding tasks without leaving noticeable swirl marks.
- Belt Sander
- A heavy-duty tool with a continuous sanding belt used for rapid material removal on large, flat surfaces like wood or metal.
- Detail Sander
- A compact sander with a pointed triangular pad, perfect for precision sanding in tight spaces, corners, and intricate areas.
- Palm Sander
- A small, lightweight finishing tool designed for gentle sanding on flat surfaces, often used for fine sanding and smoothing.
- Hand Sanding Block
- A manual sanding tool that holds sandpaper and allows for more control over sanding, especially useful for curved surfaces or small, detailed work.
- Drum Sander
- A powerful, stationary tool with a rotating drum used for sanding large, flat surfaces like floors, providing aggressive material removal.
- Dust Collector
- A device that collects and removes dust produced during sanding, keeping the workspace clean and reducing airborne particles.
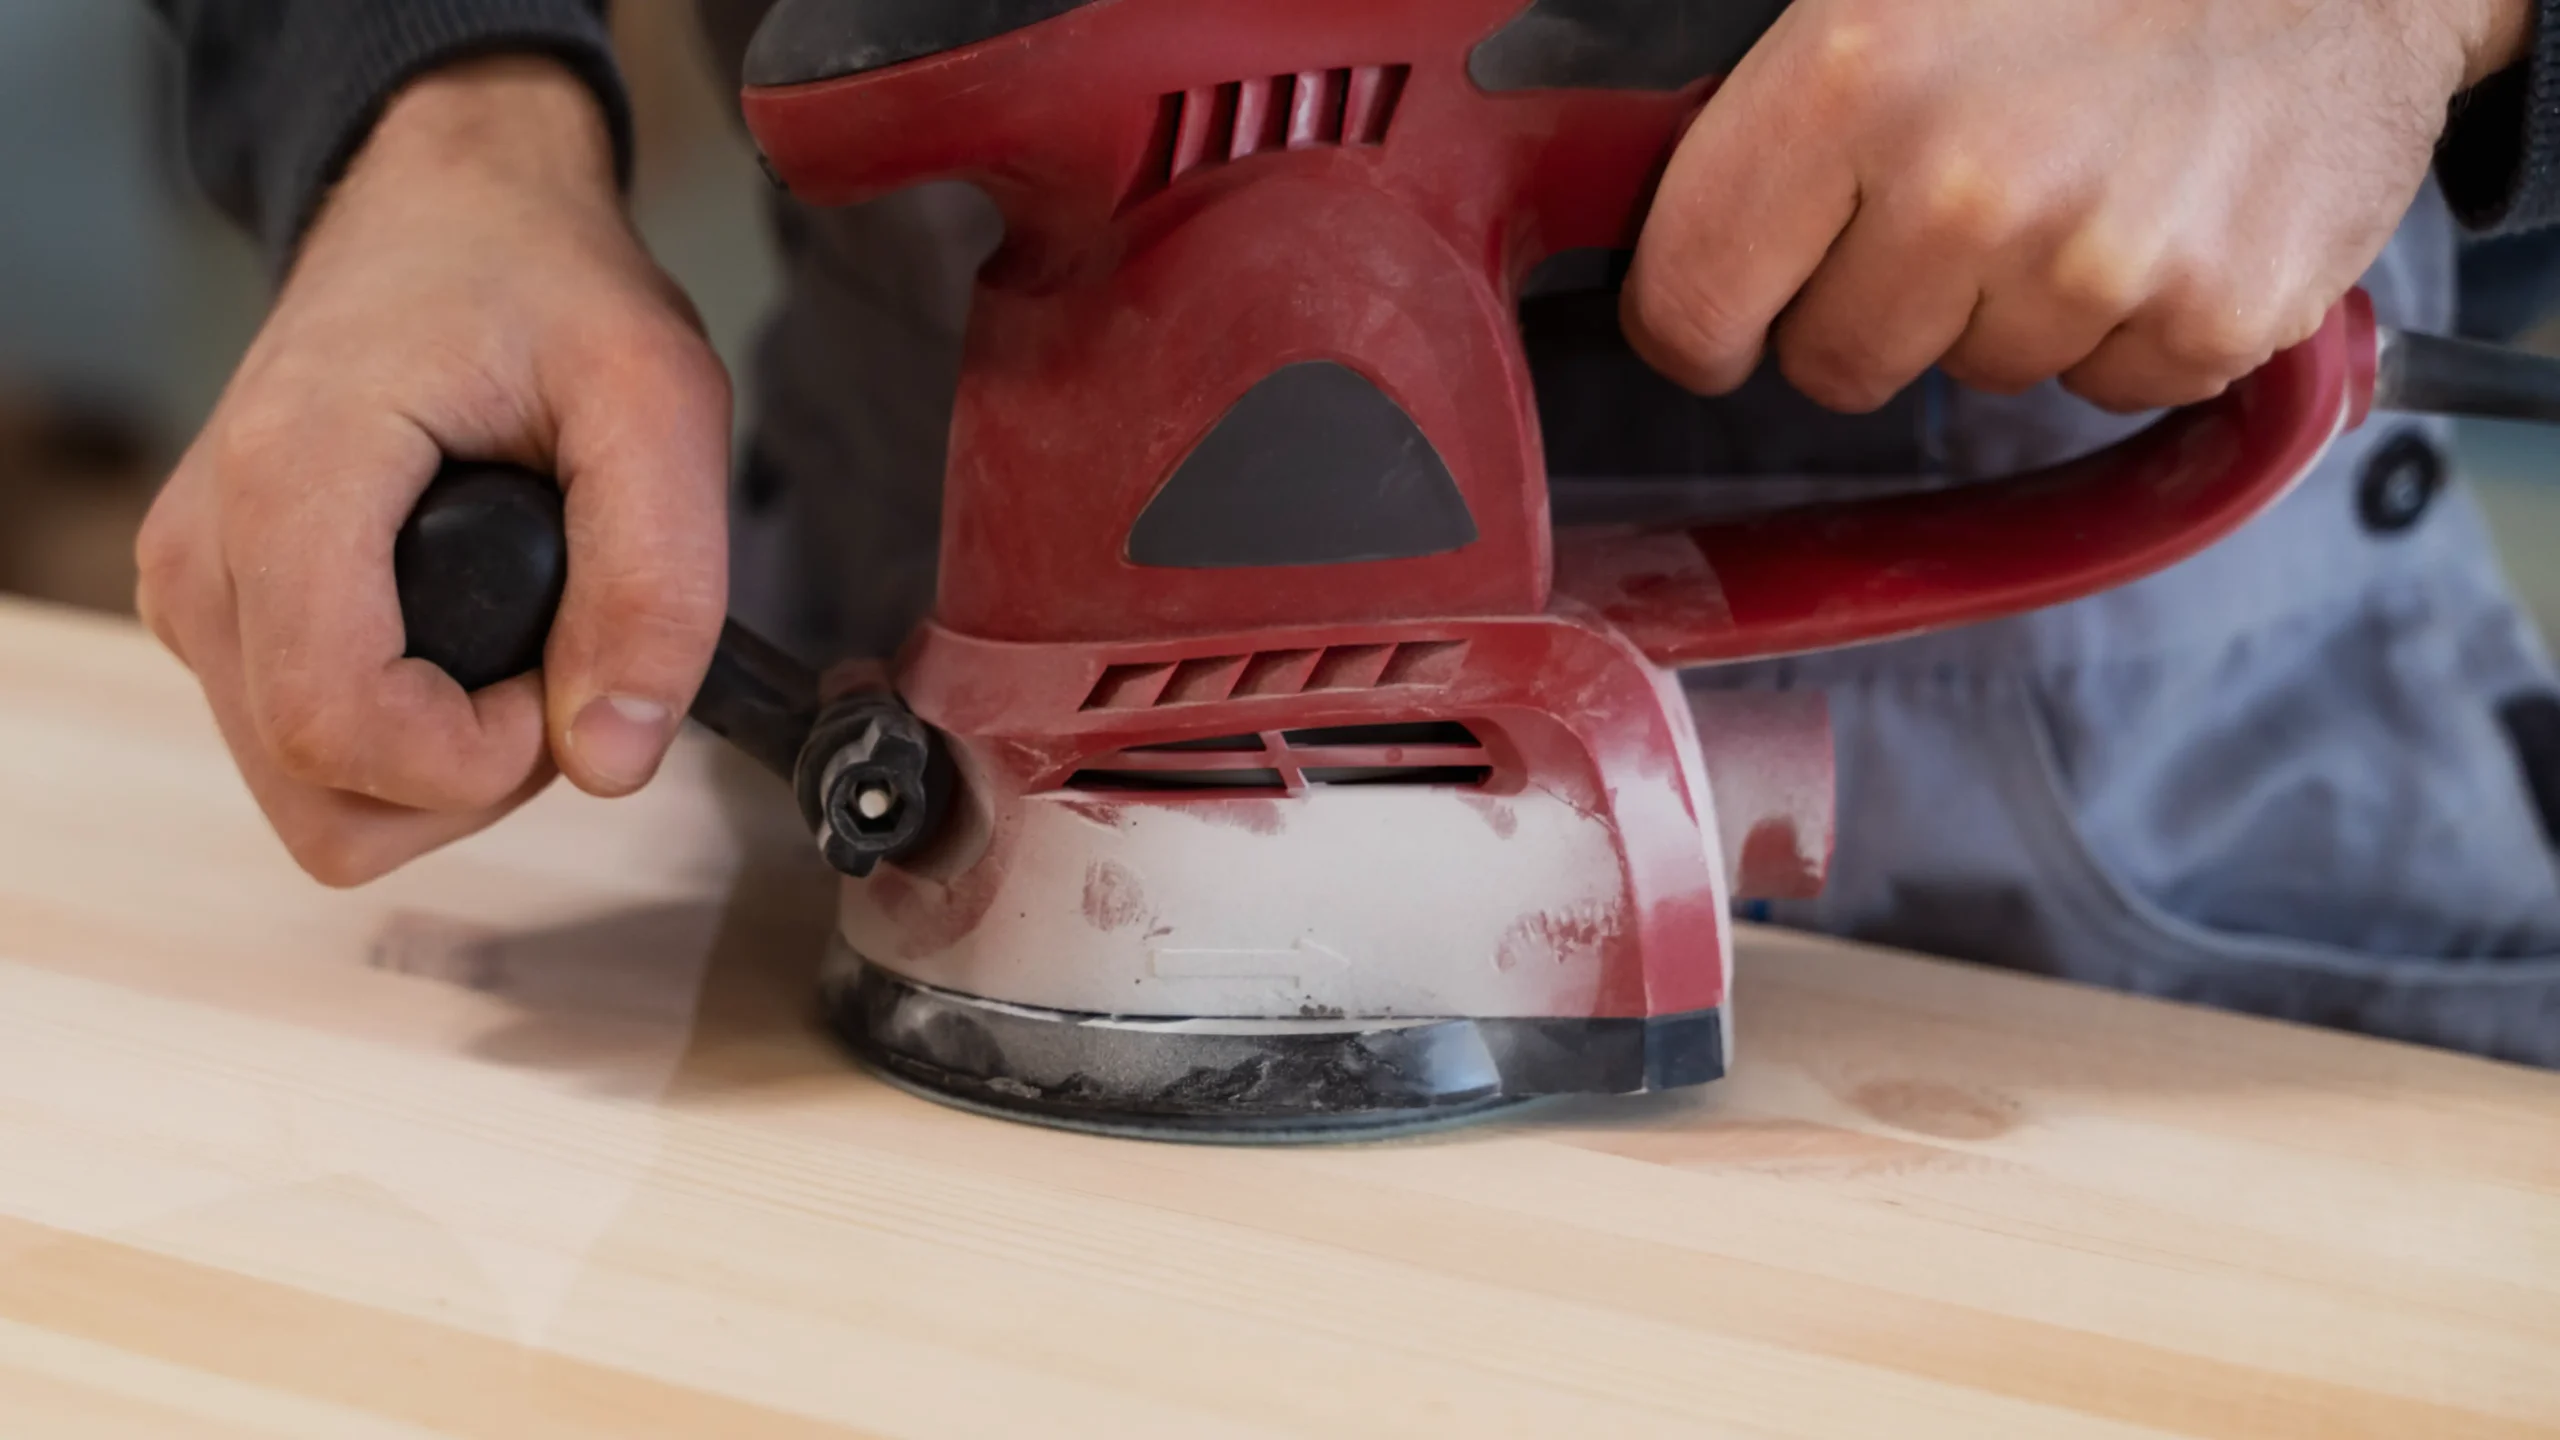
- Random Orbital Sander
- A versatile sander that combines a random circular and spinning motion to prevent swirl marks and is suitable for material removal and finishing.
- Sanding Paper
- Abrasive paper used in sanding, available in various grit sizes, determines how rough or smooth the finish will be, ranging from coarse to fine.
Types Of Sanding Papers Based On Grit
- Coarse Grit Sanding Paper
- Medium Grit Sanding Paper
- Fine Grit Sanding Paper
- Very Fine or Super Fine Grit Sanding Paper
Coarse Grit (40 to 80)
Properties
- Highly abrasive: Removes material quickly.
- Rough texture: Leaves visible scratches and a rough surface.
- Low grit number: Represents the largest abrasive particles.
Uses
- Heavy material removal: Ideal for stripping paint, varnish, or rust.
- Rough shaping: Used for leveling uneven surfaces, such as rough wood or metal.
- Surface preparation: Prepares surfaces for further sanding with finer grits.
Medium Grit (100 to 150)
Properties
- Moderate abrasiveness: Balances material removal and surface smoothing.
- Smoother texture: Leaves fewer scratches than coarse grit.
- Versatile grit range: Suitable for most general sanding tasks.
Uses
- General surface preparation: Prepares surfaces for finishing, like painting or staining.
- Sanding between coats: Smooth surfaces between layers of paint or varnish.
- Post-coarse sanding: Used after coarse sanding to refine the surface.
Fine Grit (180 to 220)
Properties
- Less abrasive: Focuses on creating a smooth, polished surface.
- Minimal scratching: Leaves a smooth surface, ready for finishing.
- High grit number: Represents finer abrasive particles.
Uses
- Final surface preparation: Used before applying the final finish (paint, stain, varnish).
- Sanding softwoods: Ideal for soft materials like pine or cedar, avoiding deep scratches.
- Between finish coats: Smooths the surface between finish coats without removing too much material.
Very Fine to Super Fine Grit (240 and Up)
Properties
- Extremely fine abrasiveness: Produces a silky-smooth surface.
- Polishing effect: Ideal for achieving a high level of smoothness.
- Ultra-high grit number: The finest grit particles for delicate work.
Uses
- Final polishing: Used on wood, metal, or automotive finishes for a glassy smooth finish.
- Buffing and detailing: Perfect for polishing and light buffing on metal or automotive paint surfaces.
- Metal sanding: Used for smoothing metal surfaces and achieving a fine, polished finish.
Conclusion
Choosing the correct grit is essential to achieving a professional-looking finish on your project. Coarse grit sandpaper removes material quickly but leaves scratches, while finer grits create a smooth surface perfect for finishing. Understanding when to use each grit ensures that your projects look their best and are finished efficiently. Whether you’re a seasoned professional or a DIY enthusiast, mastering sandpaper grit will take your craftsmanship to the next level.


